Beef Bone Broth Recipe: Step-by-Step for Beginners
Table of Contents
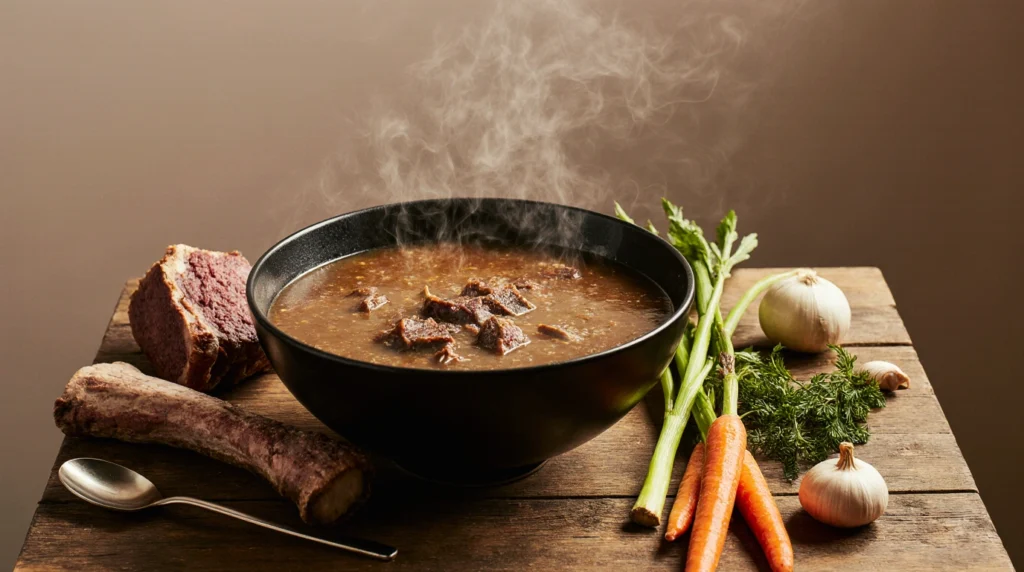
There’s something deeply comforting about a pot of broth quietly simmering on your stove. Maybe it reminds you of home, or maybe it fills your space with that warm, savory aroma that promises nourishment. Whatever draws you to it, making your own beef bone broth gives you more than a recipe — it gives you a ritual. It’s a slow, grounding process that lets you create something wholesome with your own hands, even if you’ve never made broth before. And once you try it, you’ll understand why so many cooks swear by this simple yet powerful kitchen staple.
This guide walks you step-by-step through everything you need to make a rich, flavorful beef bone broth at home. Whether you’re looking for deeper flavor in your meals, seeking digestive support, or wanting a natural source of collagen, you’ll find all the answers here — broken down in the clearest, most approachable way.
What Makes a Good Beef Bone Broth?
When you hear the words bone broth recipe, you might think it’s just another version of stock. But bone broth is different — and you’ll feel the difference when you taste it. While stock typically simmers for just a few hours, bone broth is a long, slow extraction of everything the bones have to offer.
A well-made beef bone broth is rich in color, silky when warm, and slightly gelled when cool. That gel is a sign you’ve pulled the collagen and minerals from the bones — exactly what makes broth so prized. You’re not just making a liquid to cook with; you’re crafting a nutrient-dense base for soups, stews, gravies, sauces, sipping cups, and even grains.
To get this right, here’s what truly matters:
- Using the right bones: Marrow bones give richness. Knuckles and joints give gelatin. Meaty bones bring flavor.
- Simmering low and slow: High heat causes cloudiness and a less refined texture.
- Adding acidity: A splash of apple cider vinegar helps pull minerals from the bones.
- Patience: Flavor builds hour by hour; you can’t rush it.
You don’t need special equipment. Just bones, vegetables, water, a big pot, and time.
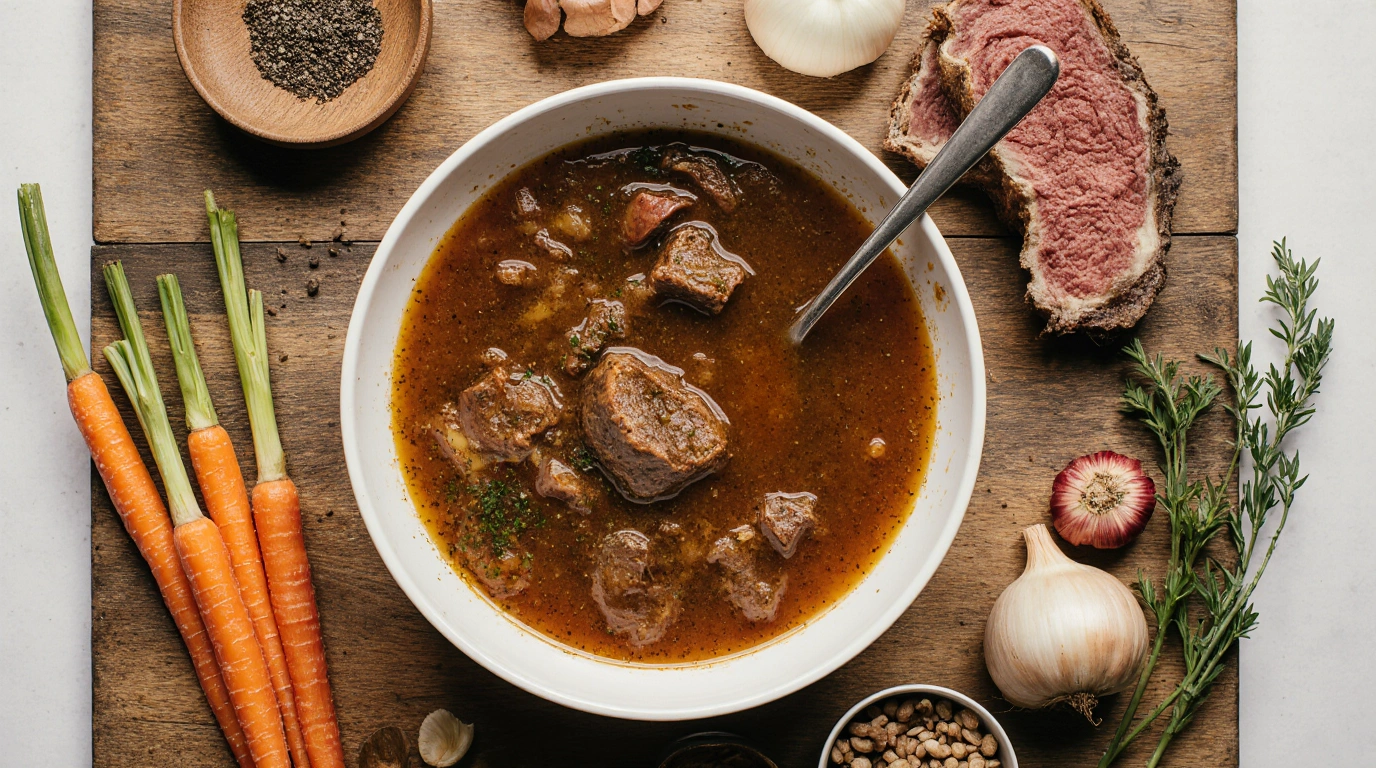
Ingredients You’ll Need for This Bone Broth Recipe
Before you start simmering anything, gather your ingredients. The quality of what you use directly affects the final broth, so don’t underestimate the bones. If you can find grass-fed or locally sourced beef bones, your broth will taste cleaner and richer.
Ingredients Table
| Ingredient | Quantity | Notes |
|---|---|---|
| Beef marrow bones | 2–3 lbs | Grass-fed recommended |
| Knuckle or joint bones | 1–2 lbs | Helps broth gel |
| Carrots | 2 | Roughly chopped |
| Celery | 2 stalks | Roughly chopped |
| Onion | 1 large | Quartered |
| Garlic | 3 cloves | Optional |
| Apple cider vinegar | 2 tbsp | Extracts minerals |
| Salt & pepper | To taste | Add at the end |
| Water | Enough to cover | Filtered preferred |
Additional Notes
- You can add herbs like thyme, rosemary, or bay leaves in the last hour of cooking for a subtle aromatic layer.
- Adding ginger or turmeric gives a warming, anti-inflammatory twist.
- Roots and peels from vegetables can also be added, as long as they’re clean.
This recipe is flexible — and once you make your first batch, you’ll find your own rhythm.
How to Make Beef Bone Broth (Step-by-Step Instructions)
Now it’s time for the part you’ve been waiting for: making bone broth from scratch. This is where your kitchen slows down and your pot takes over the work.
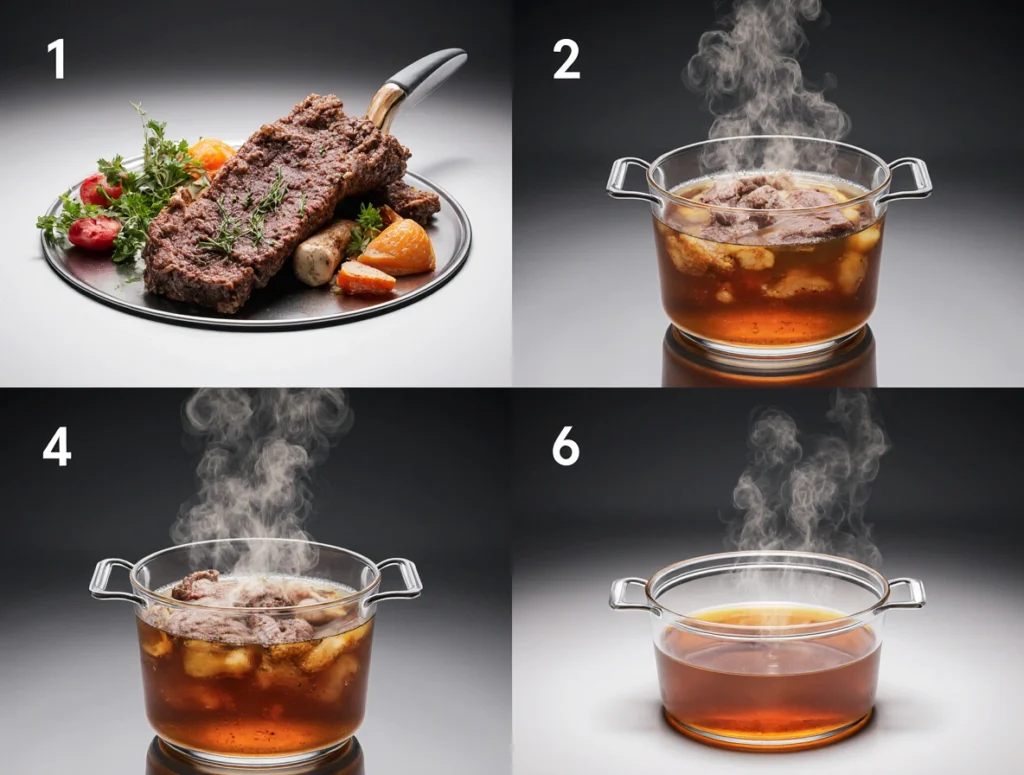
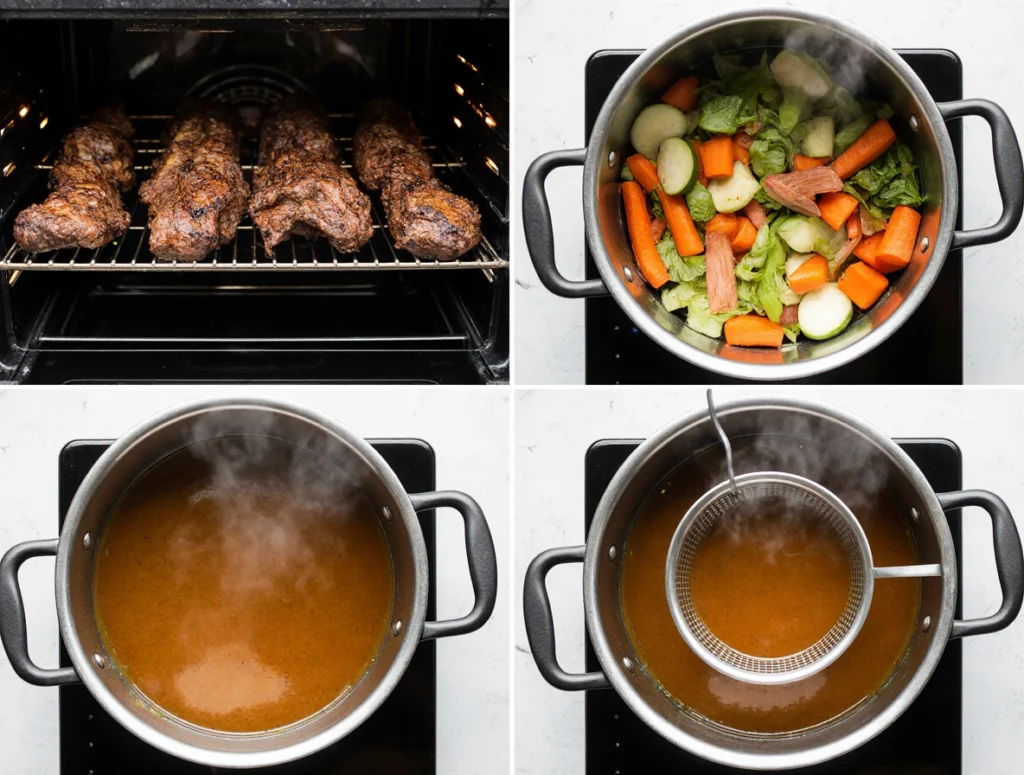
Step 1 – Roast the Bones
Before anything goes into your pot, roast the bones. This step enriches the broth by bringing out deeper, caramelized flavors.
How to do it:
- Preheat your oven to 425°F (220°C).
- Spread bones on a baking sheet.
- Roast for 30–40 minutes, turning them halfway through.
You’ll notice them browning and releasing some fat — that browning is what gives your broth its hearty flavor and gorgeous deep color.
Step 2 – Transfer Everything to Your Pot
Once roasted, move the bones into a large stockpot, slow cooker, or pressure cooker. Then add your chopped vegetables — no need to peel anything unless it’s dirty.
Carrots, onions, and celery form the classic broth base. They enrich the broth but don’t overpower it.
Step 3 – Add Vinegar and Water
This is where your broth begins to take shape.
- Add 2 tablespoons apple cider vinegar.
- Pour cold, filtered water until the bones are fully submerged.
- Let everything sit for 20–30 minutes before turning on the heat.
This short soaking time helps the vinegar start breaking down minerals inside the bones.
Step 4 – Simmer It Slowly
Heat your pot gently until the water reaches a soft simmer — not a rolling boil.
Simmer times:
- Stockpot: 12–24 hours
- Slow cooker: 16–24 hours
- Instant Pot: About 2–3 hours on high pressure (though flavor is deeper with long simmer)
For the first hour, foam may rise to the top. Skim it off with a spoon to keep your broth clear.
Long simmer means more nutrients and deeper flavor. This is where the real magic happens.
Step 5 – Strain and Store
When your broth is done, remove the bones and vegetables with tongs, then pour the liquid through a fine mesh strainer. Don’t rush this part — letting it strain slowly keeps the broth clearer and smoother.
Storage Tips:
- Refrigerate for 4–5 days
- Freeze for 3–4 months
- Freeze in silicone cubes for small portions
- Leave space at the top of jars (broth expands as it freezes)
Once cool, your broth may gel. This is a good sign — it means you’ve extracted the collagen.
Tips for Perfecting Your Beef Bone Broth Recipe
You can make bone broth with nothing but bones and water. But if you want your batch to taste incredible, these small tips make a huge difference.
Use the Right Bones
A great broth comes from a mix of bones. Marrow provides richness, meaty bones bring flavor, and joint bones give gelatin. Balance is everything.
Don’t Rush the Simmer
You might be tempted to turn the heat up. Don’t. A gentle, steady simmer is what keeps broth clear and flavorful.
Add Salt at the End
If you salt early, you may end up with an overly salty broth once the liquid reduces. Season at the end and adjust gently.
How to Make Beef Stock Using This Recipe
If you want a lighter version:
- Simmer only 3–4 hours
- Use more meaty bones
- Skip the vinegar
This creates beef stock — milder, quicker, and perfect for everyday cooking.
Nutritional Benefits of Homemade Beef Bone Broth
You’ve probably heard people rave about bone broth. There’s a reason for that. When you simmer bones slowly, you extract nutrients that are usually locked away.
Here’s what your broth offers:
- Collagen & gelatin: Great for joints, skin elasticity, and digestion
- Amino acids: Glycine and proline support detoxification and gut health
- Minerals: Calcium, magnesium, phosphorus
- Hydration + warmth: Ideal when you feel run-down
- Digestive support: Gentle on the stomach and beneficial for the gut lining
Your homemade broth has no preservatives, no additives — just pure nutrients your body recognizes.
Common Mistakes Beginners Make When Making Bone Broth
To help you avoid common issues, here are mistakes many people make when crafting their first broth:
- Boiling the broth — leads to cloudy, less flavorful results
- Adding too much water — dilutes everything
- Skipping the roasting step — flavor becomes flat
- Not adding vinegar — fewer minerals extract
- Salting too early — risk of over-salting
- Simmering too quickly — breaks down gelatin
- Using only one type of bone — results in weak flavor
Avoiding these gives you a broth that’s beautifully smooth, rich, and satisfying.
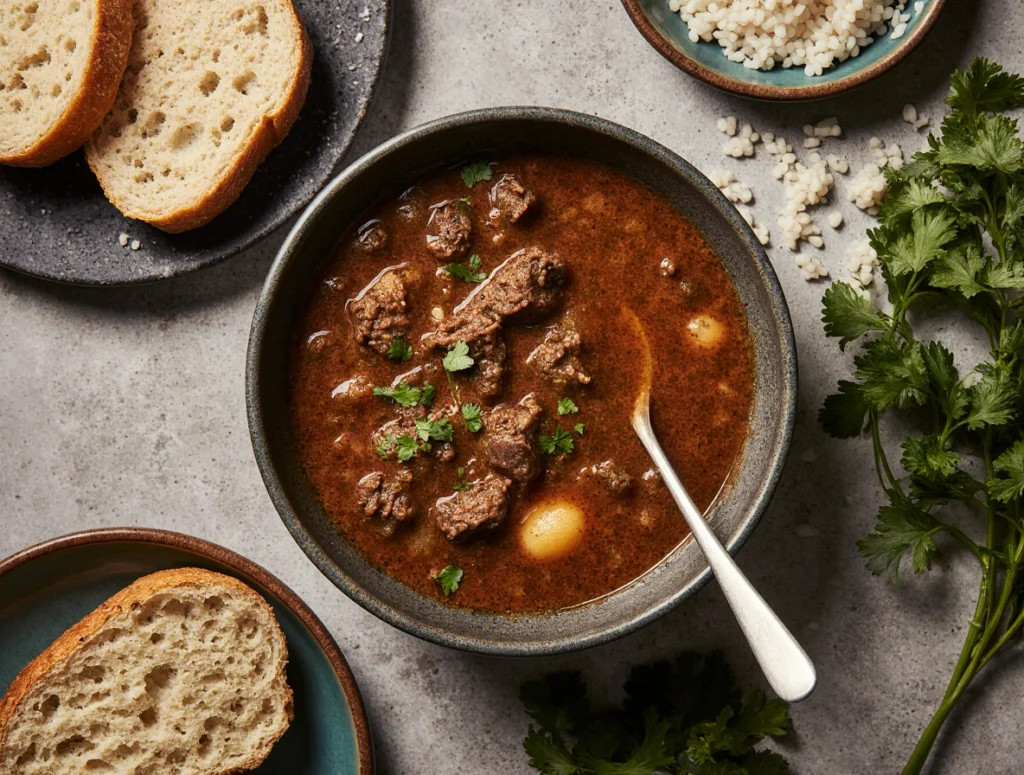
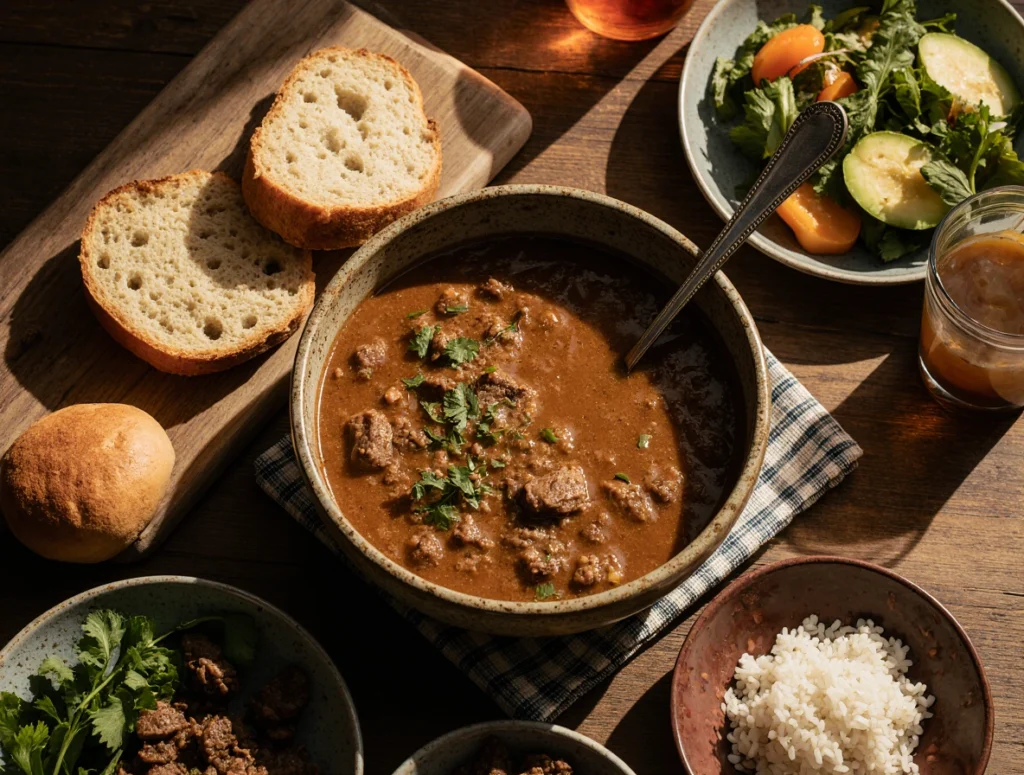
Serving Ideas and How to Use Your Bone Broth
Your freshly made broth can turn ordinary meals into something richer and more nourishing.
Here are some easy ways to use it:
- Sip it warm with a pinch of salt
- Add it to soups or stews
- Use it instead of water for cooking rice or quinoa
- Pour it into braises or gravies
- Use as a ramen or pho base
- Freeze small portions to drop into sauces
Once you get used to having broth ready in your fridge, you’ll start reaching for it daily.
Storage, Reheating, and Food Safety Guide
Once you finish your beef bone broth recipe, storing it correctly is just as important as making it. Proper storage helps you keep the flavor, maintain the nutrients you worked so long to extract, and avoid any food safety issues. Here’s exactly how you can store, reheat, and handle your broth so it stays fresh and safe for days or even months.
How to Store Your Bone Broth Safely
After your broth cools down slightly, you’ll want to transfer it into containers that help preserve it without affecting flavor.
Best Storage Practices
- Use glass jars or BPA-free containers. Glass is ideal because it doesn’t absorb odors and prevents flavor changes.
- Cool the broth completely before sealing. Sealing it while warm creates condensation, which can water down your broth and shorten its shelf life.
- Portion it out. Smaller containers make reheating easier and reduce waste since you only warm what you need.
- Skim excess fat after refrigeration. The fat hardens on top, acting as a natural protective seal. You can keep it for cooking or discard it.
Shelf Life Guidelines
- In the fridge: 4–5 days
- In the freezer: 3–4 months
- In broth cubes (ice tray): Up to 6 months
Freezing broth in ice-cube molds gives you convenient small portions to drop into sauces, stir-fries, and soups.
Freezing Tips to Prevent Container Damage
Broth expands as it freezes, so you need to leave space at the top of every jar.
Here’s what helps:
- Leave 1–1.5 inches of space in jars.
- Use wide-mouth jars to reduce cracking.
- Let the broth cool fully before freezing.
Doing this keeps your jars safe and prevents messy freezer spills.
How to Reheat Your Bone Broth Properly
Reheating is simple, but the way you heat your broth affects its texture and nutrients.
Gentle Reheating is Best
- Warm your broth over low to medium heat on the stove.
- Avoid boiling it aggressively — high heat can break down the gelatin you worked so hard to extract.
- If reheating in the microwave, heat in short intervals and stir to avoid hot spots.
Only Reheat What You Need
Repeatedly heating and cooling the same batch increases the chance of food spoilage. Pour out the amount you plan to use and leave the rest chilled.
Food Safety Tips You Should Not Skip
Even though bone broth is simple to prepare, following food safety guidelines ensures your broth stays fresh and safe to enjoy.
Signs Your Broth Has Spoiled
If you notice any of these signs, discard the broth immediately:
- Sour or unusual smell
- Cloudiness or separation that wasn’t there before
- Mold or film on the surface
- Bubbling or fermentation-like activity when cold
When in doubt, throw it out.
Keep Everything Clean
- Always use clean jars, lids, and strainers.
- Wash your hands before handling the broth.
- Avoid cross-contamination by not dipping used spoons into stored broth.
Be Careful With Fat Layers
The fat layer can act as a seal in the fridge, but once you break it:
- The broth should be consumed within 3 days
- If the fat layer smells off or looks strange, discard it
Why Proper Storage Matters for Your Bone Broth Recipe
Storing your broth correctly preserves:
- Its rich, deep flavor
- The gelatin structure
- Mineral content
- Safety and freshness
When you store your broth well, you’re basically protecting all the effort you invested during the long simmering process.
Frequently Asked Questions (FAQ)
What bones are best for a beef bone broth recipe?
A mix of marrow bones, joints, and meaty bones gives the best flavor and gelatin.
Why didn’t my bone broth gel after cooling?
This can happen if you used too much water, simmered too hot, or didn’t include enough joint bones. It’s still healthy and usable.
How long should I simmer bone broth for best results?
Ideally 12–24 hours on low heat. The longer it cooks, the richer it becomes.
Can I make this bone broth recipe in an Instant Pot?
Yes. Pressure cook for 2–3 hours, then strain. The flavor is slightly different but still excellent.
Is beef bone broth really healthy?
Yes, especially when homemade. It’s rich in collagen, amino acids, and minerals.
What’s the difference between bone broth and beef stock?
Bone broth simmers longer and extracts collagen. Stock simmers 3–4 hours and has a lighter flavor.
Can I reuse bones for another batch of bone broth?
Yes, but the second batch is weaker. Many people add fresh bones to strengthen it.
Conclusion
Making your own bone broth is one of those kitchen traditions that rewards you every time. You take simple ingredients — bones, vegetables, water — and turn them into a rich, nourishing broth that warms you from the inside out. With every batch, you’ll learn something: how long you prefer to simmer it, what herbs you like, how strong you want the flavor. It becomes your broth, made exactly the way you like it.
Now that you understand every step — from choosing bones to storing your finished broth — you’re ready to start making your own. Once you taste the depth and richness of homemade broth, you’ll never want to buy the boxed version again.
If this guide helped you, share it with someone who loves cooking or is curious about traditional, nourishing foods. And don’t forget to try your first batch — your kitchen is waiting for that pot of simmering goodness.