5 Secrets to Making the Perfect Sourdough Pizza Dough Recipe at Home
Table of Contents
IntroDuction:
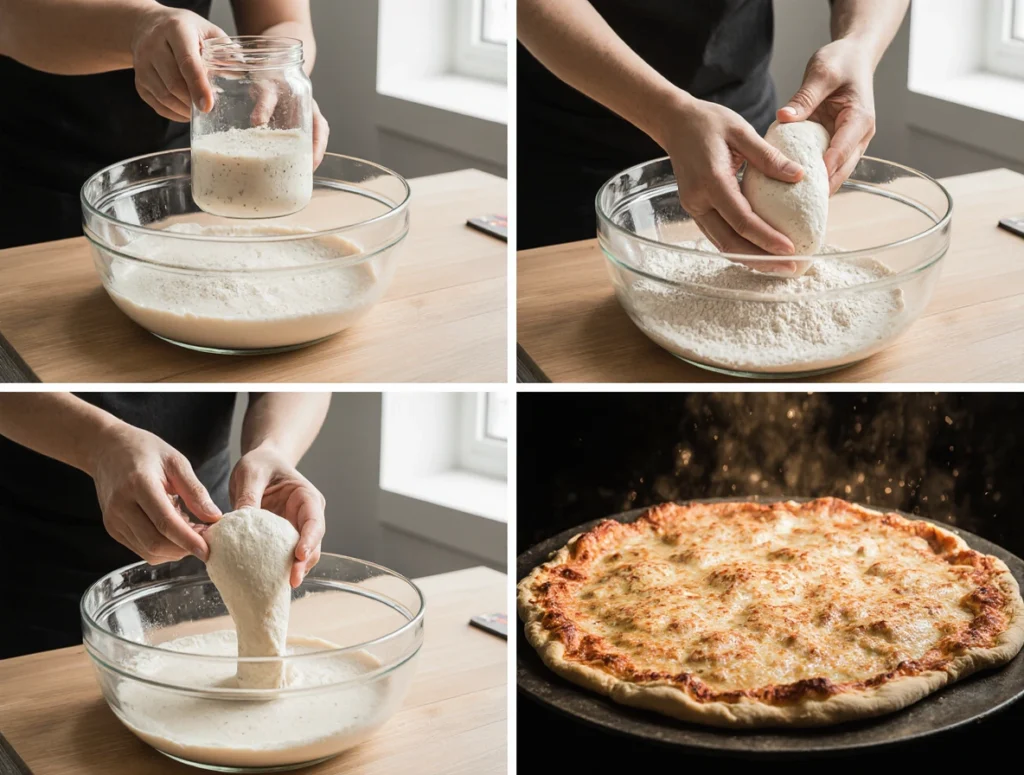
If you’ve ever pulled a homemade pizza from the oven and felt just a little disappointed that the crust didn’t quite live up to your dreams — too dense, too bland, or missing that signature chew — you’re not alone. Getting your sourdough pizza dough recipe just right takes patience, intuition, and a few well-kept secrets that every great baker learns along the way.
This guide is for you — the home baker who wants to transform a simple ball of dough into a golden, blistered masterpiece that tastes like it came straight from a wood-fired oven in Naples. And yes, it’s completely possible to do that in your own kitchen.
By the end of this read, you’ll know the five secrets that separate a decent sourdough crust from an unforgettable one — and how to master each step confidently.
Why Sourdough Pizza Crust Is So Special
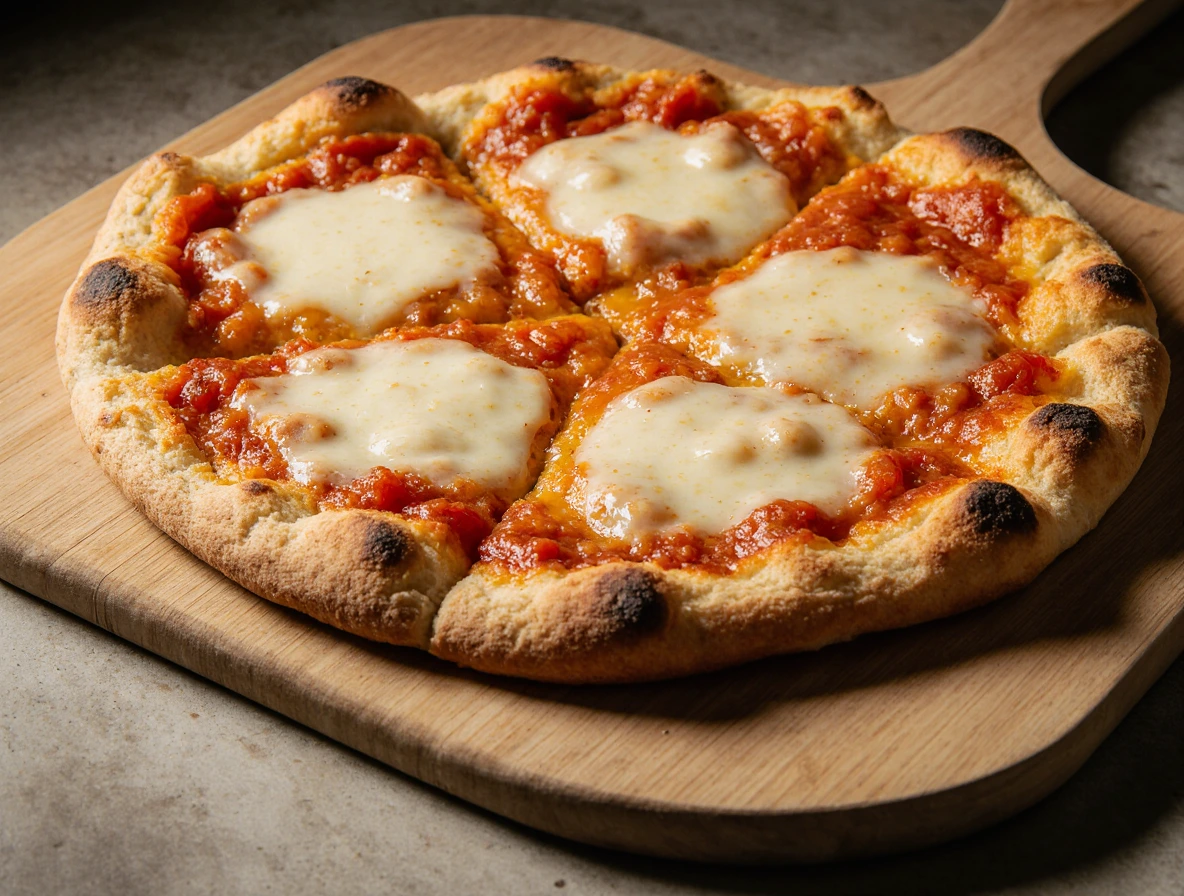
If you’ve ever taken a bite of pizza and instantly noticed that unmistakable mix of chewiness, crisp edges, and a faint tang that lingers just long enough — that’s the magic of sourdough pizza crust. It’s more than just a base for toppings; it’s the soul of your pizza. What makes it truly special isn’t just the taste, but the process that brings it to life.
Unlike quick-rise yeast doughs, sourdough is a slow labor of love. You’re working with a living culture — wild yeast and natural bacteria — that evolves over time, adding layers of flavor that commercial yeast could never replicate. This is what gives sourdough its signature depth: a perfect balance between savory and tangy, airy yet strong enough to hold your favorite toppings.
But the beauty doesn’t stop at flavor. Sourdough pizza crust also has a texture that’s hard to beat — crisp on the outside, soft and open on the inside. Each bubble and blister on that golden surface tells the story of patient fermentation and natural leavening.
Beyond taste and texture, sourdough pizza is also kinder to your body. The fermentation process partially breaks down gluten and phytic acid, making it easier to digest and more nutrient-friendly. That means you can enjoy pizza night without the heaviness that often follows.
To put it simply: sourdough pizza Dough recipe isn’t just pizza — it’s craftsmanship. It’s about taking the time to let natural fermentation work its quiet magic so that every bite is a celebration of flavor, texture, and tradition.
The Science Behind the Tang and Texture
When you use a sourdough starter, you’re not just making dough — you’re cultivating flavor. The natural fermentation process breaks down gluten and starches, resulting in a crust that’s more flavorful, more digestible, and perfectly crisp on the outside while staying chewy inside.
Here’s how sourdough compares to traditional yeast-based dough:
| Feature | Sourdough Crust | Yeast Crust |
|---|---|---|
| Flavor | Tangy, complex, artisan-style | Mild, one-note |
| Texture | Crispy outside, airy inside | Even but denser |
| Rise Time | 8–24 hours | 1–2 hours |
| Digestibility | Easier on the stomach | Heavier feel |
In short: sourdough pizza crust rewards patience with depth — each bite a mix of crunch, chew, and character.
Secret #1 – Feed and Maintain a Strong Starter
Your starter is the heart of your sourdough pizza dough recipe. A sluggish, neglected starter will never lift your dough properly, no matter how perfect the rest of your process is.
Why Your Starter’s Health Matters
A strong starter ensures steady fermentation, consistent rise, and the right balance of acidity. When your starter is active, it should double in size within 4–6 hours of feeding and smell slightly sweet and tangy — never overly sour or vinegary.
Feeding Ratio (by weight):
- 1 part starter
- 1 part water
- 1 part flour
Feed daily if kept at room temperature, or every 3–4 days if stored in the fridge.
Pro Tip:
Use your starter when it’s at its peak activity — just after it rises to its highest point and before it starts to fall. That’s when it’s most potent and packed with natural yeast energy.
If you find yourself with extra starter, don’t toss it! Use it for sourdough discard pizza dough, pancakes, or crackers — waste nothing, flavor everything.
Secret #2 – Mastering Hydration and Flour Ratios
Hydration is where the magic — and the mystery — of sourdough pizza dough really begins. It determines your dough’s texture, stretchiness, and final crust crispness.
Choosing the Right Flour Mix
For structure and chew, go for high-protein bread flour. If you want a softer, more elastic texture, blend in some Italian Tipo “00” flour. For a rustic, earthy tone, add a small portion of whole wheat.
Ideal Hydration Range: 65–75%
- Lower hydration (around 65%) = easier to handle, slightly denser crust.
- Higher hydration (70–75%) = lighter, airier, and crispier results.
Your Ingredient Blueprint
| Ingredient | Quantity | Purpose |
|---|---|---|
| Bread flour | 500g | Provides structure and chew |
| Water | 325g | Adds hydration and lightness |
| Active sourdough starter | 100g | Natural leavening and flavor |
| Salt | 10g | Balances and strengthens gluten |
| Olive oil (optional) | 10g | Adds crispness and richness |
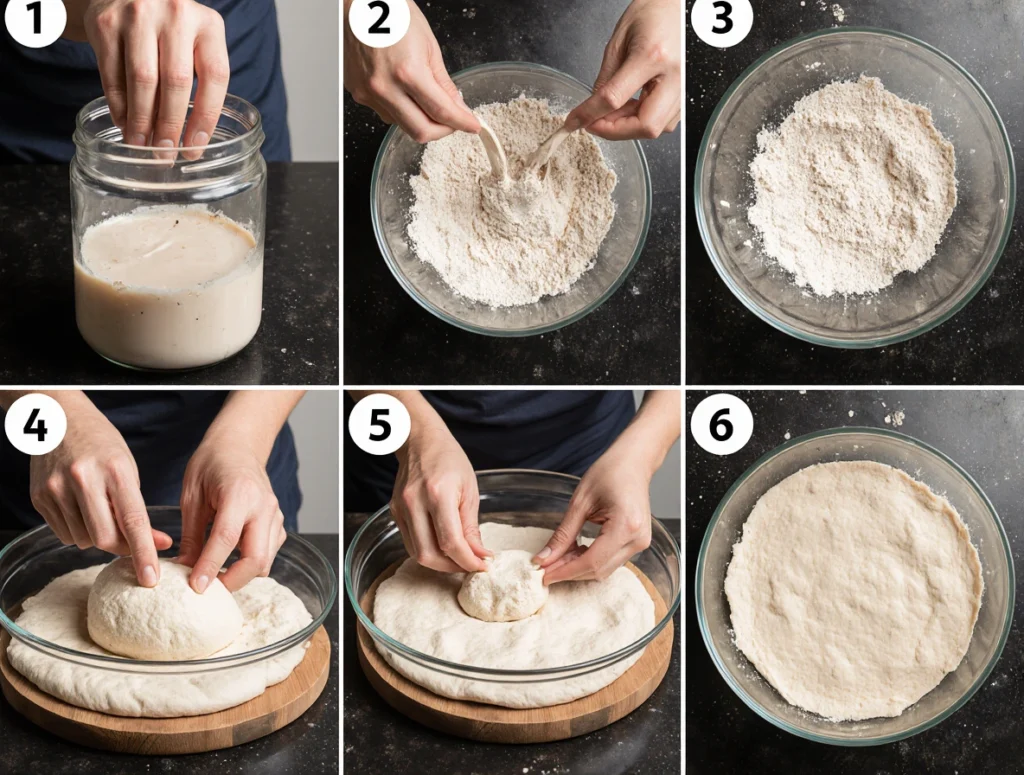
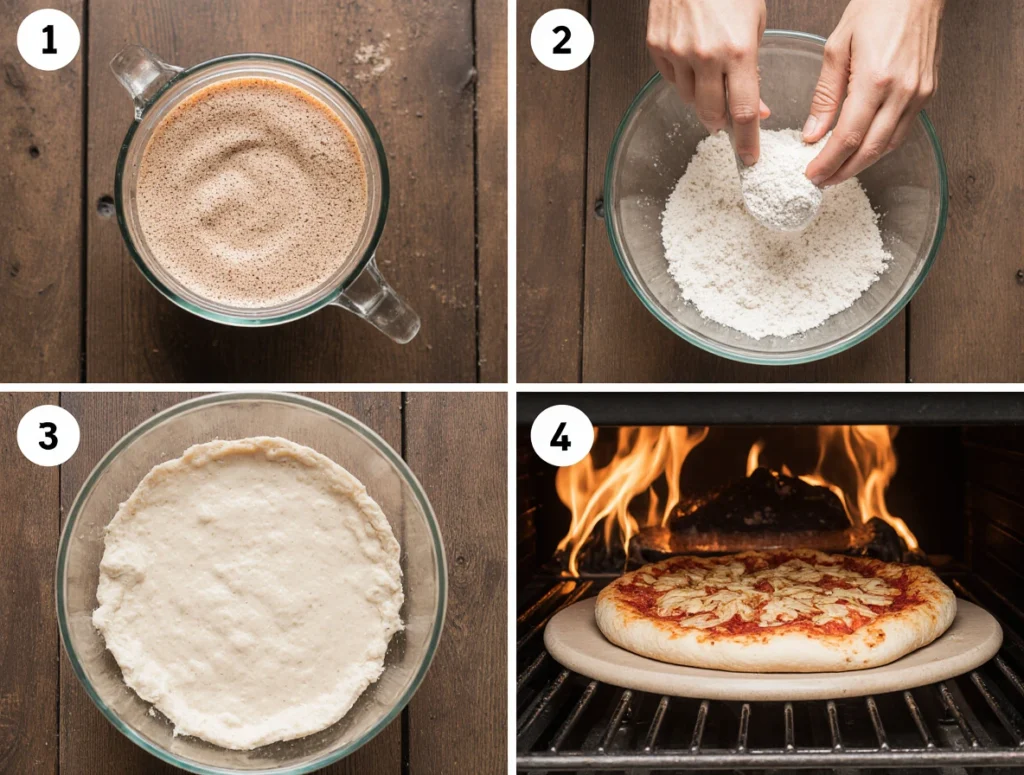
Mix ingredients until no dry spots remain, then let it rest (autolyse) for 30–60 minutes before kneading or folding. This simple rest makes your dough smoother and easier to work with.
Secret #3 – Long Fermentation for Ultimate Flavor
The third secret might test your patience, but it’s what separates “good” pizza from “wow.” Long, cold fermentation develops deep flavor and a beautifully airy texture that short rises can’t match.
Why Time Equals Flavor
During cold fermentation (12–48 hours in the fridge), enzymes break down starch into sugars, enhancing both taste and browning. The gluten also relaxes, making the dough easier to stretch without tearing.
Your Cold Fermentation Schedule
- Mix & Autolyse: Combine ingredients, rest 1 hour.
- Stretch & Fold: Every 30 minutes for 2 hours to build strength.
- Bulk Rise: Let it sit at room temperature until slightly puffy.
- Cold Ferment: Refrigerate for 24–48 hours for maximum flavor.
- Bring to Room Temp: Let the dough warm for 1–2 hours before shaping.
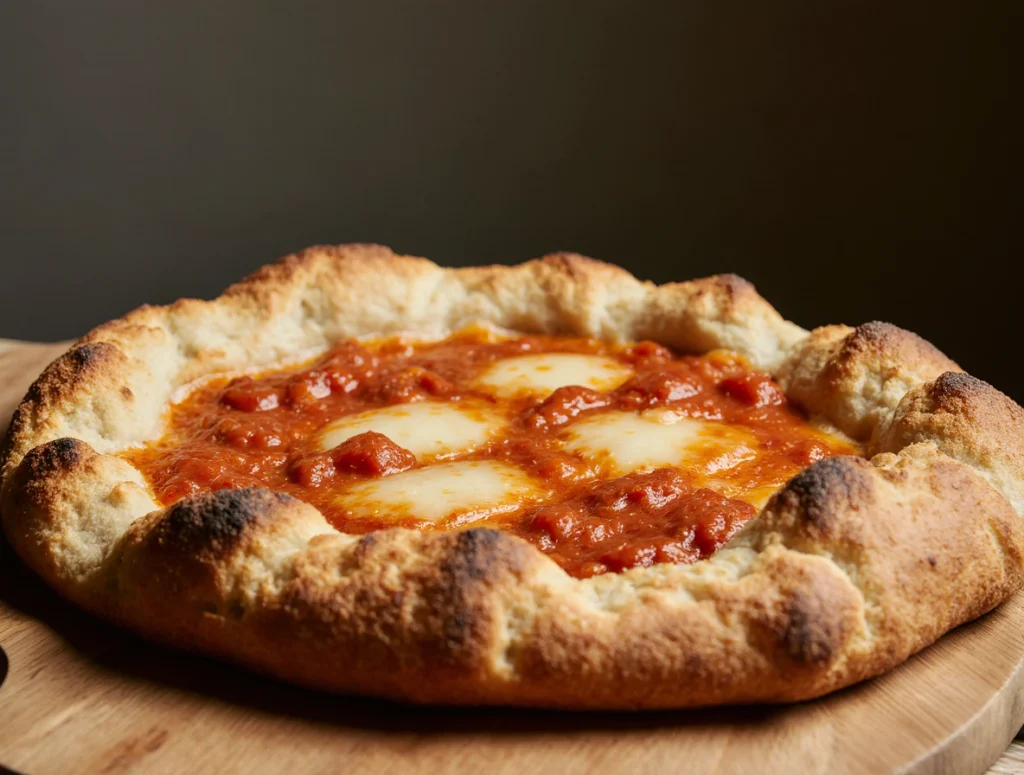
The result? A crust that’s tangy, blistered, and bursting with character — just like authentic Italian sourdough pizza.
Secret #4 – Perfect Shaping and Handling Technique
Once your dough is fermented, treat it like gold. The way you handle it can make or break your final crust.
Avoid the Rolling Pin Mistake
Never roll your sourdough pizza dough with a pin. It forces out the gas bubbles that give your crust its airy lift. Instead, press it gently from the center outward with your fingertips, letting gravity stretch it naturally.
Your goal: a slightly thicker edge (the cornicione) and a thin, even base.
Pro Tip:
Dust your hands and surface with semolina flour instead of regular flour. It prevents sticking and gives your crust a delicate crunch.
Bonus Tip – The Windowpane Test
Hold a small piece of dough between your fingers. If you can stretch it thin enough to see light through without tearing, your gluten network is perfect.
Secret #5 – The Right Bake: Temperature and Surface
This is where it all comes together. Even the most beautifully fermented dough needs the right baking environment to shine.
High Heat is Non-Negotiable
Sourdough pizza loves high heat — think 475–500°F (250–260°C). The goal is quick, even baking that crisps the bottom before drying the crumb.
Pro Tip: Preheat your oven with a pizza stone or steel for at least 45 minutes before baking.
Best Baking Surfaces
| Surface | Heat Retention | Result |
|---|---|---|
| Pizza Steel | Excellent | Ultra-crisp, fast bake |
| Pizza Stone | Great | Balanced crispness |
| Baking Pan | Moderate | Softer crust, less blistering |
If you’re using a pan, drizzle a touch of olive oil before placing your dough — it creates a subtle fried edge that’s irresistible.
Troubleshooting Common Issues
Even with the best sourdough pizza dough recipe, little hiccups can happen. Here’s how to fix them quickly:
- Dough too sticky: Use slightly wet hands and fold instead of adding too much flour.
- Flat crust: Starter was weak or dough under-proofed. Feed your starter and extend the rise.
- Overly sour flavor: Reduce fermentation time or refresh starter more often.
- Not crispy enough: Increase oven temp or preheat your stone longer.
- Dough tearing: Over-handled or under-hydrated — next time, increase rest time and hydration slightly.
FAQ – Your Sourdough Pizza Questions Answered

Q1: What’s the best flour for sourdough pizza crust?
High-protein bread flour or Tipo “00” flour gives you the best combination of structure and chew.
Q2: Can I use sourdough discard for pizza dough?
Yes! Sourdough discard pizza crust is a great way to reduce waste while still creating flavorful dough. Just remember it won’t rise as much as an active starter dough.
Q3: How long should I ferment my dough?
Ideally between 12–48 hours, depending on your schedule and flavor preference. Longer fermentation means more tang and lighter texture.
Q4: Why is my sourdough pizza crust tough?
Over-kneading or using low hydration can make it dense. Try gentler folds and a slightly wetter dough next time.
Q5: Can I freeze sourdough pizza dough?
Absolutely! Freeze after bulk fermentation. When ready to bake, thaw overnight in the fridge and bring to room temp before shaping.
Conclusion – From Dough to Masterpiece
There’s no single trick to the perfect sourdough pizza crust — it’s a dance between time, temperature, and touch. You now hold the five essential secrets that bakers swear by: a healthy starter, smart hydration, slow fermentation, gentle shaping, and the right bake.
The beauty of sourdough is that no two pizzas are ever the same. Each bake teaches you something new about your dough, your starter, and your own intuition as a baker.
So tonight, when you stretch that soft, bubbly dough and slide it onto the stone, remember — this is your creation. Crisp, chewy, golden, and perfectly yours.
Now it’s your turn — preheat that oven, trust the process, and taste the magic of homemade sourdough pizza.